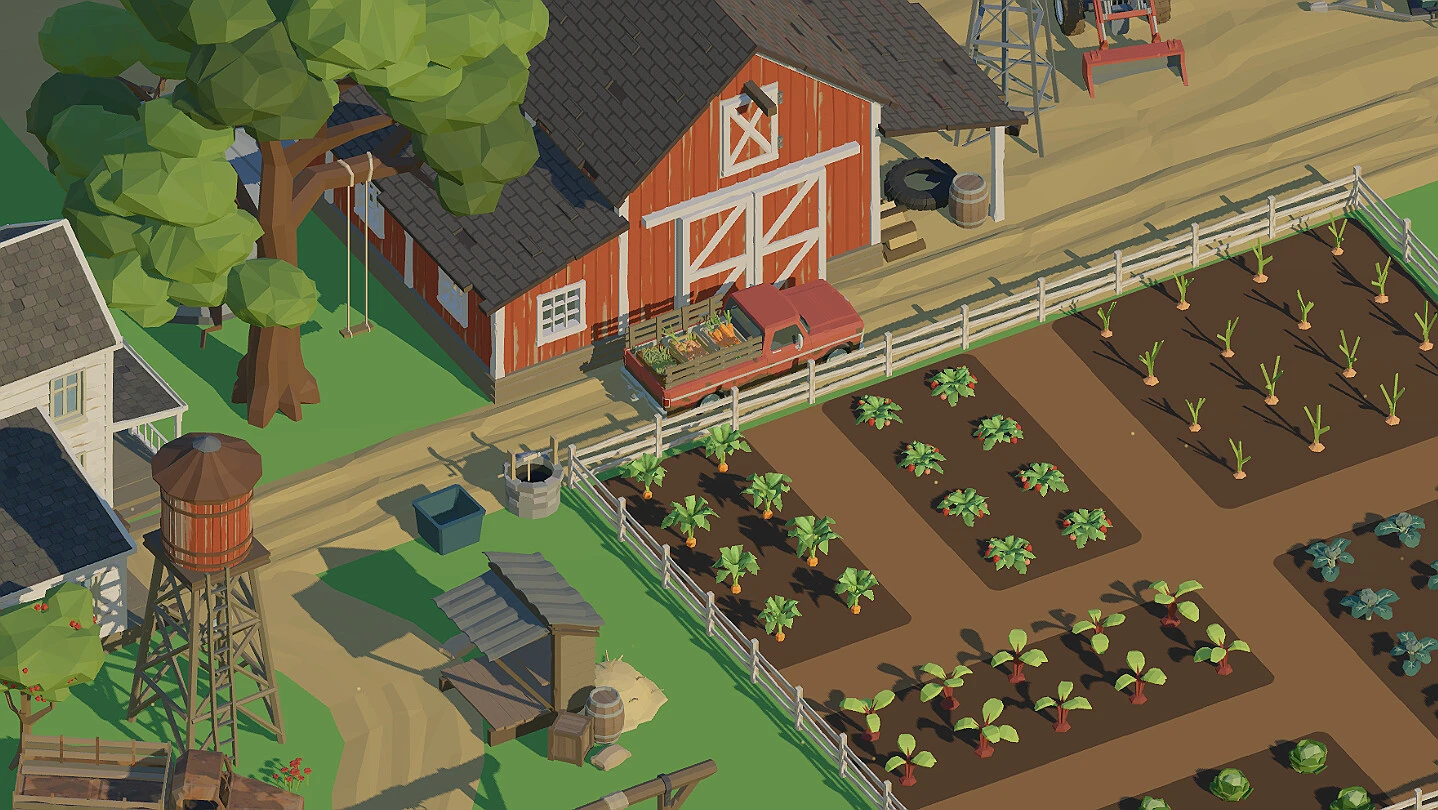
- Farm to Fortune farm layout: Separate production, storage, and expansion zones before placing buildings.
- Best starting design: Use a compact rectangle with short paths between crops, storage, and processing.
- Growth strategy: Leave open tiles for upgrades instead of filling every available space immediately.
- Efficiency rule: Group related buildings together to reduce walking distance and repeated movement.
- Late-game planning: Reserve dedicated areas for automation, decoration, and high-volume production.
Farm to Fortune Farm Layout Foundations
A strong Farm to Fortune farm layout should make your daily routine predictable. Place the buildings and production areas you use most often near the center, then move decorative or low-frequency structures toward the outer edges. This approach keeps travel short while leaving enough room for future upgrades.
Start by dividing the farm into functional zones rather than placing items wherever an empty tile appears. A useful layout normally includes a crop zone, an animal or resource zone, a processing zone, storage space, and an expansion buffer. These zones do not need to be perfectly symmetrical, but each should have a clear purpose.
Plan around movement first. A visually attractive farm can still feel slow if storage, processing, and gathering points are separated by long unnecessary paths.
Recommended Functional Zones
| Zone | Main Purpose | Best Placement |
|---|---|---|
| Core production | Crops, animals, or repeatable income sources | Near the center |
| Processing | Buildings that convert raw materials | Beside production |
| Storage | Chests, barns, or inventory support | Between production and processing |
| Expansion | Empty tiles for future upgrades | Along one or two outer edges |
| Decoration | Paths, fences, and visual details | Around completed zones |
The most important principle is adjacency. If one activity regularly feeds another, keep those areas connected. For example, raw materials should not need to cross the entire farm before reaching a processing building. Likewise, storage should be close enough to support several activities without becoming a bottleneck.
Path Planning
Use a simple path system before adding decoration. A central walkway can divide the farm into left and right sections, while short side paths connect individual buildings. Avoid creating too many winding routes because they consume space without improving access.
A practical path plan includes:
- One main route from the entrance to the farm’s central work area.
- Short branches leading to production buildings.
- A direct connection between storage and processing.
- Open turning space around large structures.
- At least one spare route for later expansion.
Do not assume every tile needs a path. Reserve pathways for high-traffic locations and use compact clusters for buildings that work together.
Three Layout Designs for Different Goals
Different players need different farm arrangements. A beginner may value clarity and easy expansion, while an experienced player may prefer maximum production density. The best design depends on how often you collect resources, how much decoration you want, and whether your farm is still growing.
Compact Starter Grid
- Short travel distances
- Easy to understand
- Strong for early production
- Leaves limited decorative space
Balanced District Layout
- Separate production zones
- Better visual organization
- Flexible upgrade space
- Moderate walking distance
Expansion-Ready Layout
- Large reserve areas
- Supports future buildings
- Easier to redesign gradually
- Lower initial space efficiency
Do not fill every open tile at the beginning. A crowded farm can force expensive rearrangement when new buildings, larger production chains, or upgraded storage become available.
Design Comparison
| Layout | Efficiency | Expansion | Decoration | Best For |
|---|---|---|---|---|
| Compact Starter Grid | High early efficiency | Limited | Basic | New farms |
| Balanced District Layout | High | Good | Good | Most players |
| Expansion-Ready Layout | Moderate | Excellent | Excellent | Long-term planning |
Compact Starter Grid
The compact grid places your most-used structures in a tight rectangle. Storage sits near the center, with crops or gathering areas on one side and processing buildings on the other. This design minimizes early walking and makes it easy to remember where everything belongs.
Its main weakness is limited flexibility. If you later unlock large structures, you may need to remove paths or shift an entire row. Use this layout when your farm is small and your priority is reaching a stable production rhythm quickly.
Balanced District Layout
The balanced district layout divides the farm into small neighborhoods. One district handles crops, another handles animals or raw materials, and a third supports processing and storage. A central road connects the districts without cutting through every production tile.
This is usually the safest general-purpose approach. It provides clear organization without wasting too much space and makes future expansion easier than a tightly packed grid.
Expansion-Ready Layout
An expansion-ready layout intentionally leaves open areas near the edges. You may lose some short-term production density, but you gain room for upgraded buildings and new production chains. This design also works well if you want a clean decorative border around the farm.
Use visible markers, paths, or fences to define reserved zones. Empty space should look intentional rather than unfinished.
Step-by-Step Farm Layout Setup
A reliable setup process prevents repeated rebuilding. Work from the largest structures and highest-traffic areas first, then fill the remaining space with smaller production objects and decoration.
Mark the Main Route
Establish a direct path from the entrance to the central work area. Keep this route clear of decorative objects and reserve enough room for movement around large buildings.
Place Core Production
Put your most frequently collected crops, animals, or resource generators close to the central route. Group similar production objects so one trip can handle several tasks.
Connect Storage and Processing
Place storage between raw-material sources and processing buildings. This creates a practical chain and reduces repeated travel across unrelated sections of the farm.
Reserve Upgrade Space
Leave open tiles beside important buildings and along at least one farm edge. Treat these spaces as planned expansion zones rather than unused land.
Add Decoration Last
Finish with fences, paths, signs, trees, and other visual details. Decoration should reinforce the layout without blocking access or future building placement.
Complete the functional layout first, test your routine, and only then add decoration. This makes problems easier to identify before the farm becomes difficult to change.
Placement Priority
| Priority | What to Place | Reason |
|---|---|---|
| 1 | Main route | Controls movement across the farm |
| 2 | Core production | Generates the resources you collect most |
| 3 | Storage | Supports several nearby activities |
| 4 | Processing | Shortens the production chain |
| 5 | Decoration | Improves presentation after function is stable |
After the first setup, walk through your normal routine. Check how many turns are required between gathering, storage, processing, and selling or delivery points. If one action repeatedly sends you across the farm, move the related structures closer together.
Do not judge a layout only by its appearance from a distance. A compact arrangement may look busy but perform well, while a spacious arrangement may look impressive but create unnecessary travel. Test the layout during ordinary play before committing to a major redesign.
Production Efficiency and Upgrade Planning
Once the basic layout works, improve it by grouping activities around production cycles. The goal is not simply to place more objects. The goal is to make each visit to the farm accomplish several tasks with minimal backtracking.
A useful production district has three layers:
- Input area: Crops, animals, or resource sources that provide materials.
- Work area: Processing structures that transform those materials.
- Support area: Storage, fuel, tools, or other items needed to keep production moving.
Keep these layers close, but avoid blocking the routes between them. If a building has a large footprint, leave enough surrounding space to access nearby objects comfortably.
Before upgrading a building, check the empty space around it and the direction of nearby paths. A larger footprint can disrupt an otherwise efficient production district.
Upgrade Reserve Table
| Farm Stage | Layout Focus | Space Recommendation |
|---|---|---|
| Early setup | Basic production and storage | Keep one open side |
| Growing farm | Add processing districts | Reserve space beside major buildings |
| Mature farm | Improve production chains | Consolidate related structures |
| Decorative phase | Add visual themes | Keep core routes unobstructed |
Storage deserves special attention because it often supports multiple parts of the farm. Instead of scattering storage containers across the map, place a central storage cluster near the busiest production districts. Separate overflow storage can sit near specialized areas if the main cluster becomes inconvenient.
You should also maintain a small emergency buffer. This space can hold temporary items during rearrangement, seasonal changes, or production upgrades. Without a buffer, every redesign becomes a chain reaction that affects several zones at once.
Common Layout Mistakes
- Building directly against every border and leaving no expansion space.
- Mixing decorative objects into high-traffic production lanes.
- Placing storage far from the resources it supports.
- Creating long paths to buildings used during every production cycle.
- Using multiple disconnected entrances without a clear reason.
- Expanding one district while ignoring the movement pattern of the entire farm.
A good farm layout should improve over time rather than require a complete restart. Move one district at a time, test the result, and keep the parts that reduce travel or improve clarity.
Farm Layout Review:
- Create a direct route from the entrance to the central work area
- Group production, storage, and processing into connected districts
- Reserve open space beside major buildings for future upgrades
- Keep decoration away from high-traffic movement lanes
- Test the layout during a normal collection and processing routine
Farm to Fortune Farm Layout FAQ
A successful layout is less about copying one fixed design and more about matching the farm to your routine. Use the answers below to refine your arrangement as production expands.
Q: What is the best Farm to Fortune farm layout for beginners?
A compact starter grid is usually the easiest to manage. Place core production near the center, keep storage close to processing, and leave one open edge for future expansion.
Q: Should production buildings be placed together?
Yes, when they support the same resource chain. Grouping related buildings reduces travel and makes collection routines easier, but keep enough space for access and upgrades.
Q: How much empty space should a farm layout reserve?
There is no universal amount because farm size and building footprints can differ. Reserve at least one clearly marked expansion zone and keep space beside important buildings.
Q: Should decoration come before efficiency?
Function should come first. Establish routes, production districts, storage, and processing connections before adding fences, paths, and decorative objects.
Walk through your most common routine before calling the farm finished. If the same trip crosses the farm several times, adjust the related district rather than adding more paths.
A practical layout should remain understandable months after the initial setup. Use consistent districts, repeatable path patterns, and visible reserve zones so every new upgrade has a logical destination. The strongest farms balance three goals: efficient movement, reliable production, and enough flexibility to grow.
If your current farm feels cluttered, begin with the highest-impact change: move storage and processing closer to the resources they use most. Then simplify the main route, clear blocked access points, and reserve a dedicated expansion area. Small adjustments can improve the entire routine without requiring a full rebuild.